|
Zabbix 3.0 LTS : Initial Setup
2016/03/12 |
|
This is the Initial Setup for Zabbix server.
|
|
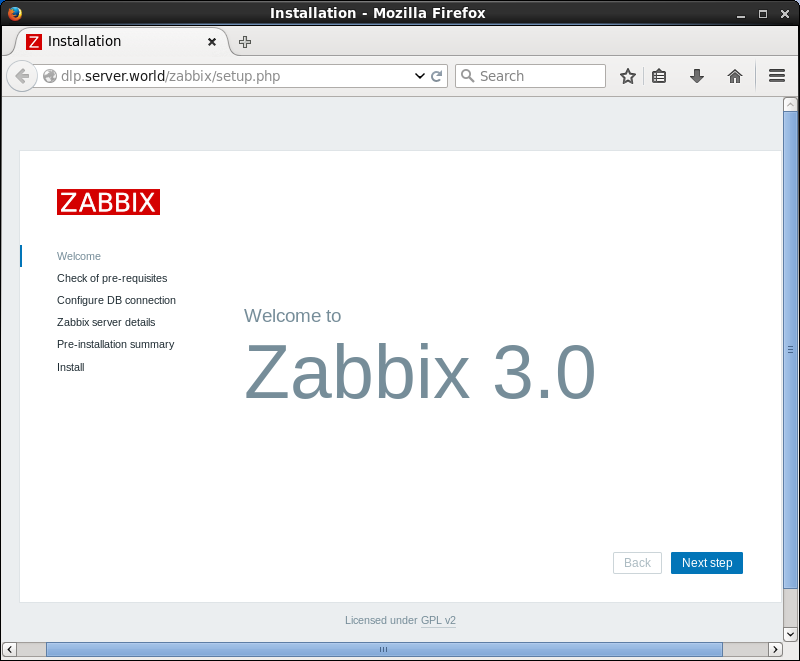
| [1] | Access to the "http://(Zabbix server's hostname or IP address)/zabbix/" from a client which is in the network allowed by Zabbix server. Then, Zabbix start page is displayed, Click "Next step" to proceed. |
|
|
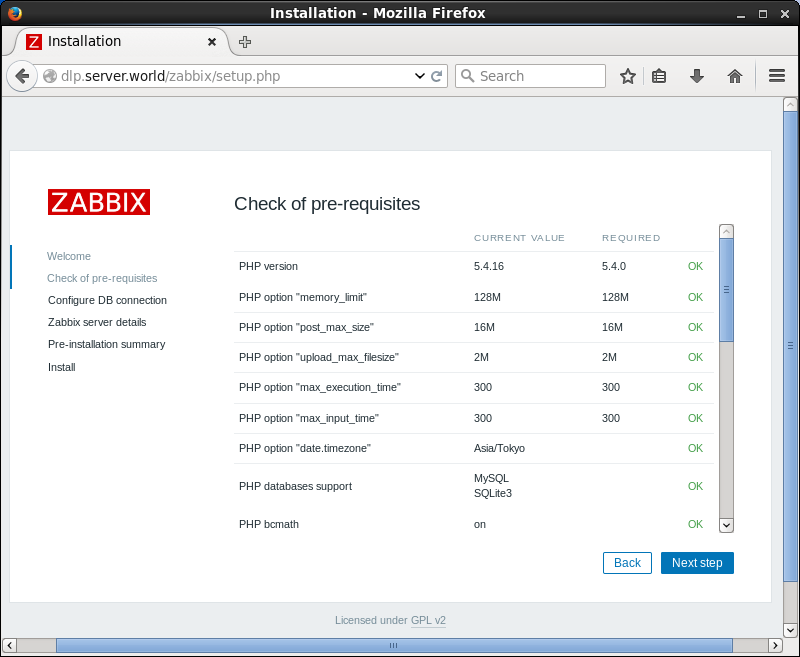
| [2] | Make sure all items are "OK", then proceed to next. |
|
|
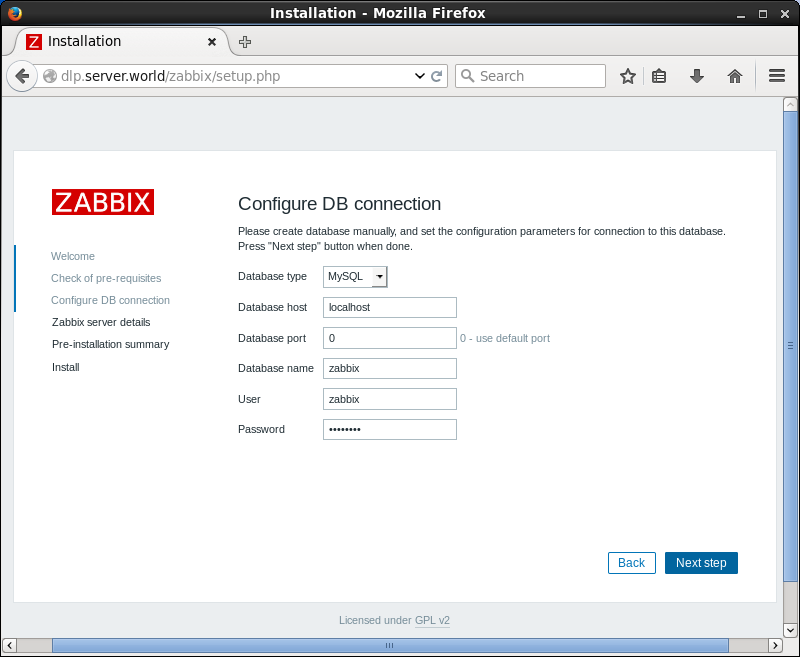
| [3] | This is the databse settings section. Change the default setting on "User" field from "root" to "zabbix" and input DB password for it. |
|
|
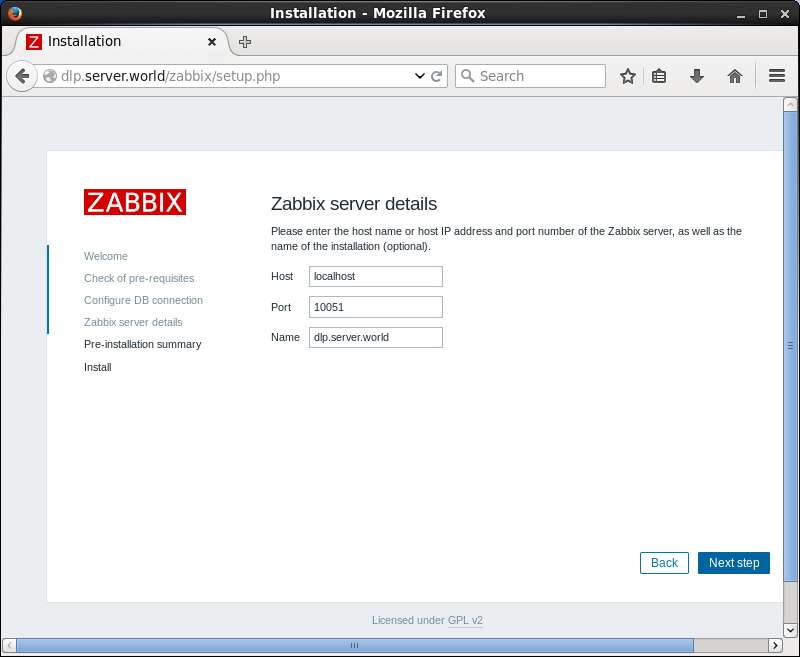
| [4] | This is the connection settings to Zabbix server. If it's local one, it's OK with keeping default. But It had better to change "Name" field to any name you like. |
|
|
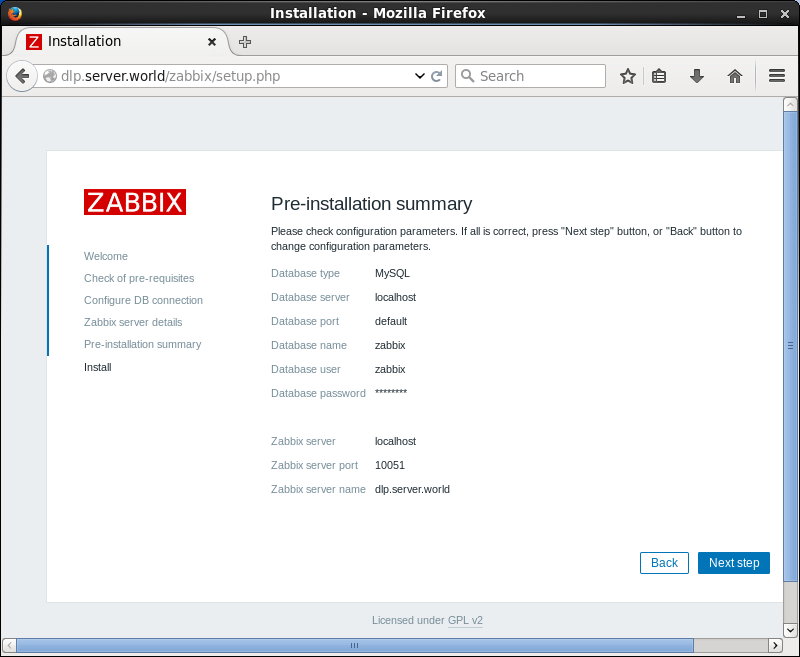
| [5] | This is the confirmation of previous settings, proceed to next if all is OK. |
|
|
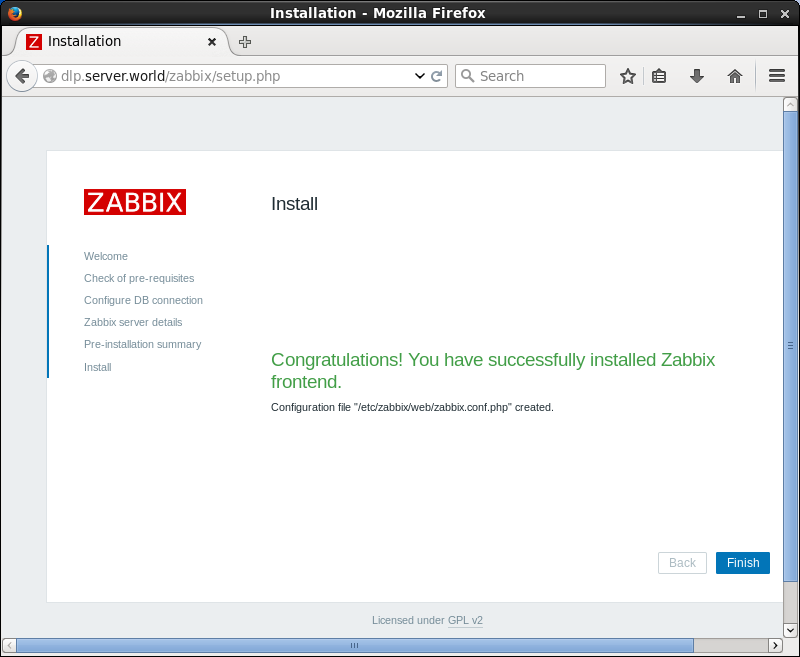
| [6] | Click "Finish" to complete initial setup. |
|
|
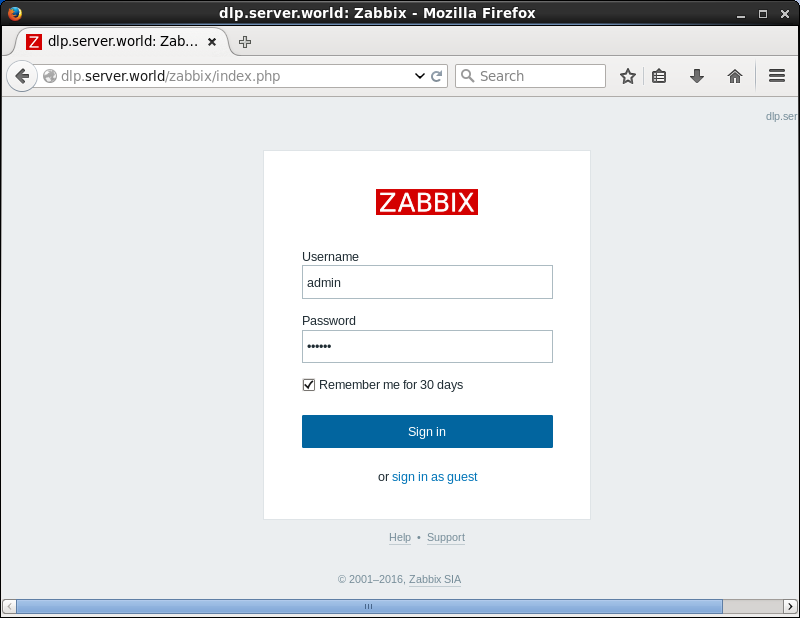
| [7] | This is the login page. It's possible to login with the username "admin", initial password "zabbix". |
|
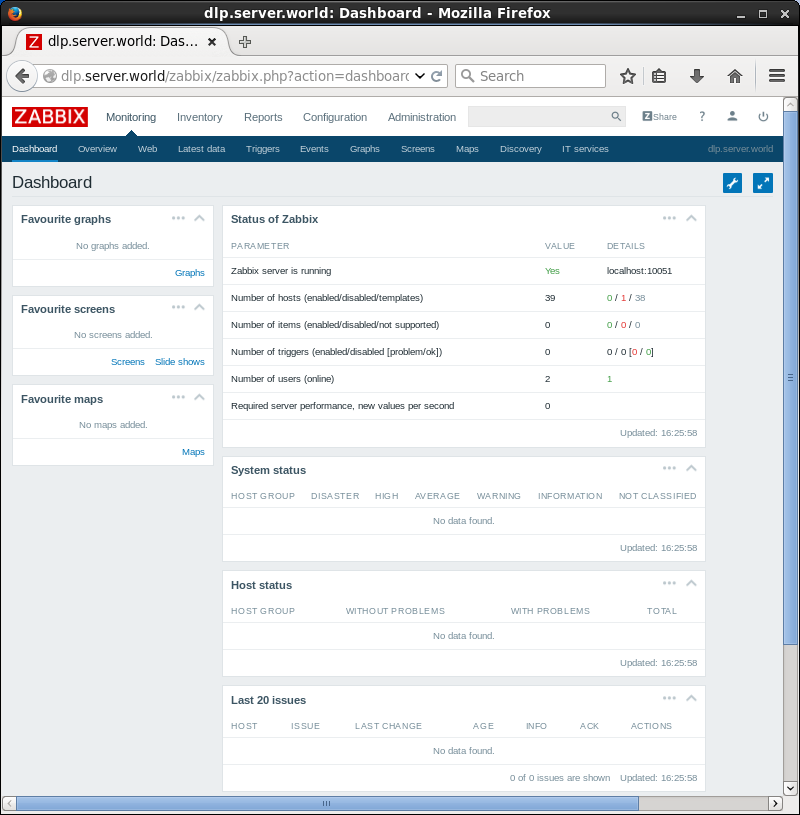
| [8] | Just logined. This is the index of Zabbix administration site. |
|
